
Step 1: Open Your Web Browser
Use a supported browser such as Google Chrome, Mozilla Firefox, or Microsoft Edge.

⚠️ Your login URL, IP address, and relevant access details will be provided in your welcome email after your VPS setup is completed.
Step 2: Access Your n8n Portal
You can connect to your n8n portal in one of two ways:
Via IP Address (The IP assigned is randomly allocated).
Via Domain Name.
⚠️ Your actual IP address or domain will be provided in your welcome email for your VPS.
Step 3: Register Your Account (First-Time Access)
When you access the portal for the first time, you’ll be prompted to create a new n8n account.

⚠️ Important: Keep your login credentials safe and confidential. These credentials are unique to your n8n instance.
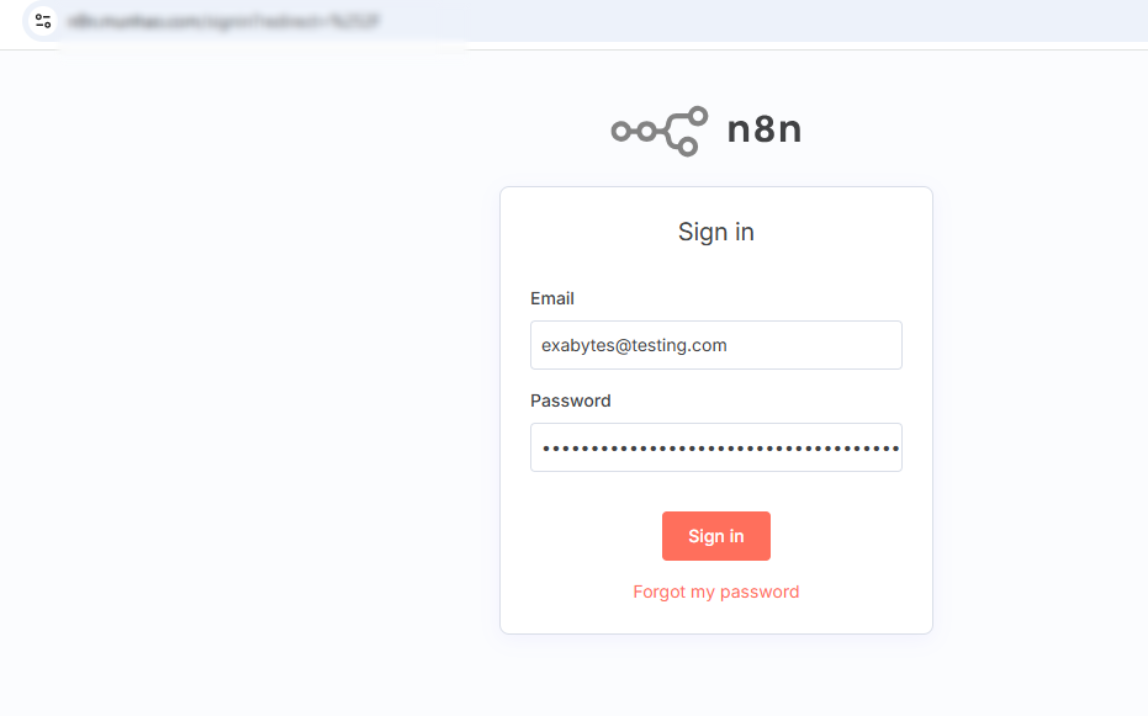
Step 4: Log In to Your n8n Portal
After registration, log in using the email and password you just created.
Step 5: Start Building Workflows
Once logged in, you’ll be directed to the n8n dashboard, where you can:
Create and manage your own automation workflows
Connect to various applications and APIs
Customize your self-hosted environment freely
